VLC Media Player is a famous media player that offers many features to enhance the user experience. One of its; most helpful features is the ability to control and adjust the playback speed. Whether you need to speed up or slow down a video, VLC offers a range of options to suit your needs.
In this guide, we’ll explore how to adjust the video playback speed in VLC Media Player. With the ability to change the playback speed in increments as small as 0.10x, users have complete control over their viewing experience.
Adjust Video Playback Speed in VLC Media Player
The Video Playback Speed feature can be helpful for those who need to review videos for work or study and who want to watch videos at their own pace to save time.
If you’re watching video tutorials for your school work, you may want to slow it down to take notes or catch essential details. Overall, VLC’s playback speed control is a valuable tool that enhances the user experience and makes viewing videos more enjoyable and efficient.
Here are the steps to control and adjust the video playback speed in VLC:
1. Open the VLC Media Player.
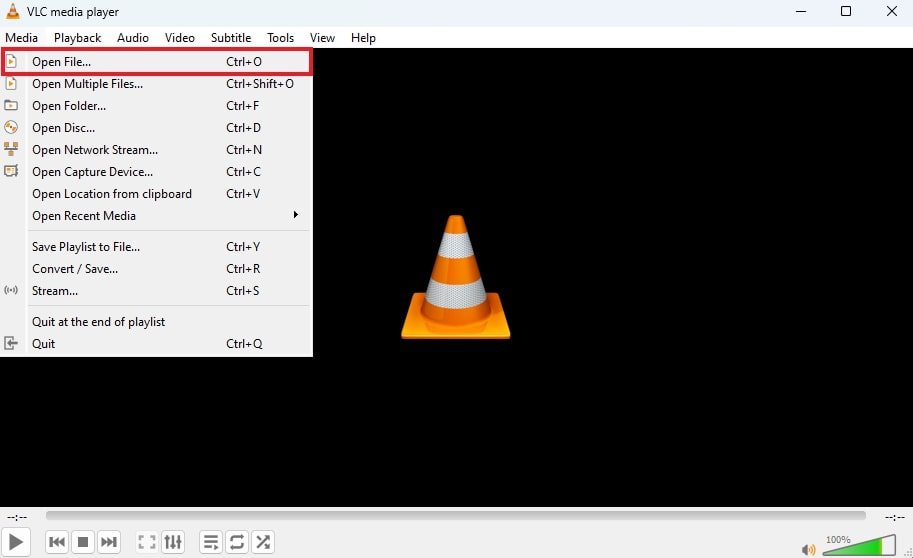
2. Click the Media tab from the top menu.
3. Then click on the Open File option, or use Ctrl + O and navigate to the video you want to watch.
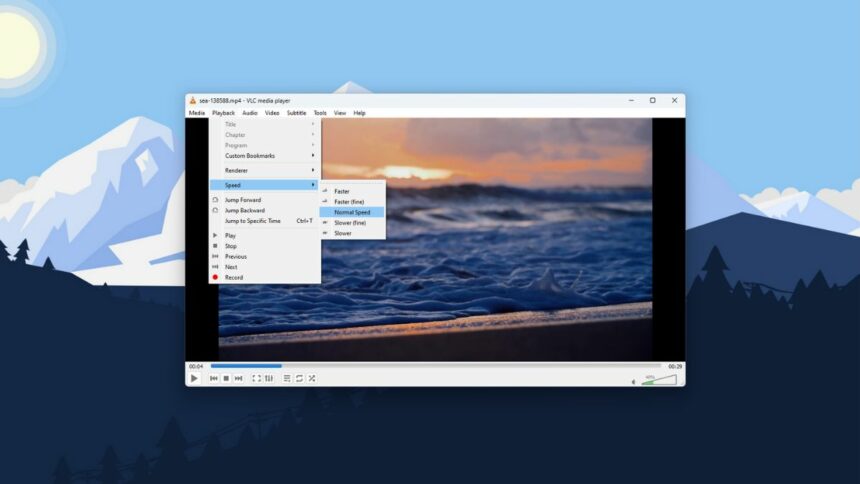
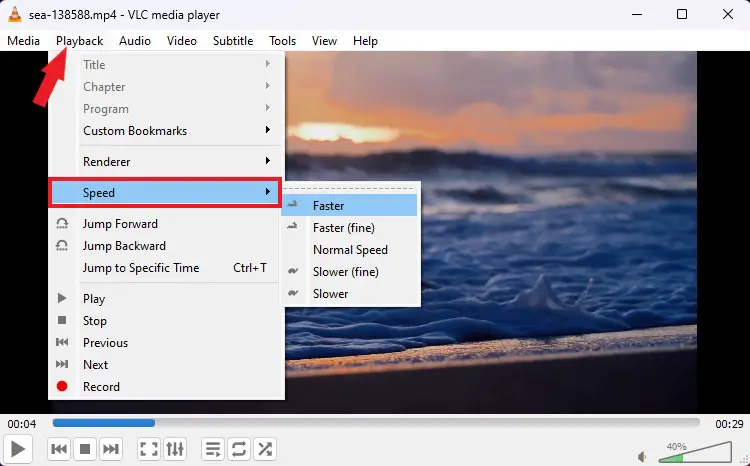
4. Once your video is open in VLC, click on the Playback tab at the top of the screen. It will open a dropdown menu with several playback options.
5. Click on the Speed and select a speed from the options: Faster, Faster (fine), Normal, Slower (fine), and Slower.
Note
If you are on macOS, you will get a playback speed slider to adjust the speed of the video.
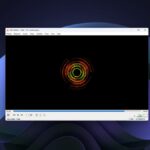
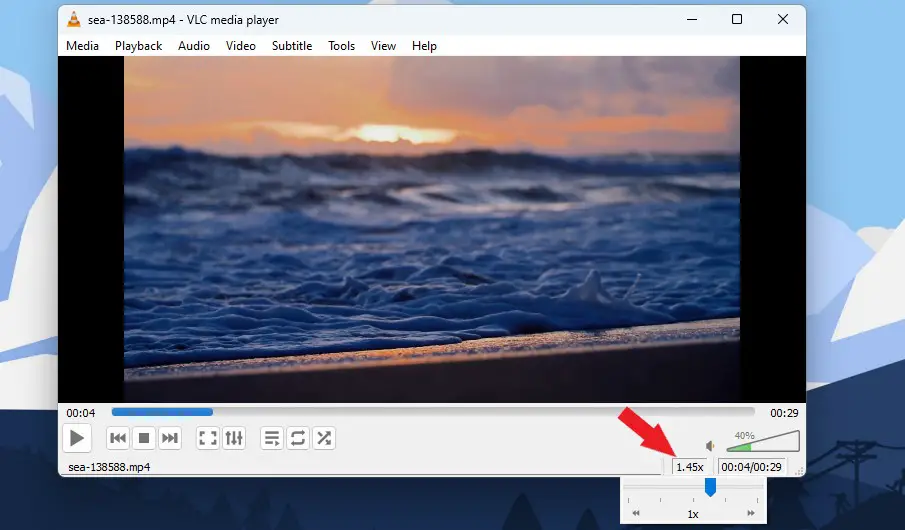
6. If you want to fine-tune the playback speed, you can use the status bar. To enable it, click on the View > Status Bar option.
7. Now you can use the playback speed slider present in the status bar to adjust the speed. Drag the slider towards the left to slow down and towards the right to speed up.
8. Alternatively, if you prefer to use keyboard shortcuts to control and adjust the playback speed in VLC Media Player, you can do so by using the following keys:
- Decrease playback speed: “[” key
- Increase playback speed: “]” key
- Reset playback speed to normal: “=” key
Setting the Default Playback Speed
If you typically prefer to watch videos at a specific speed, you can save a default playback speed in VLC.
To do this, you can follow the steps mentioned below:
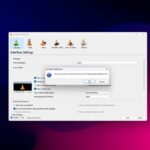
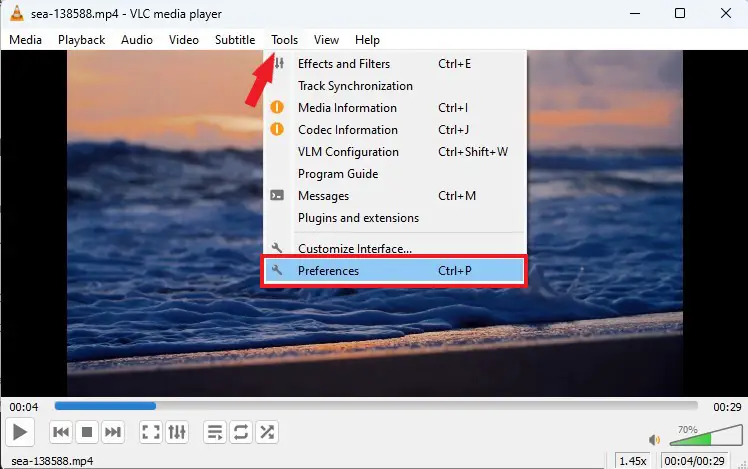
1. Click on the Tools option on the top menu bar and then click on Preferences. Or, use the keyboard shortcut Ctrl + P to open the preferences window.
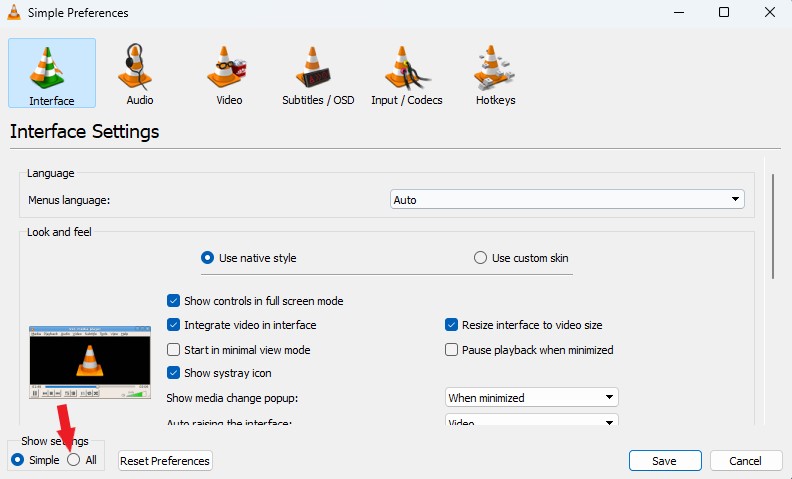
2. It will open the Preferences window. Click the All radio button at the bottom to access the Advanced Settings menu.
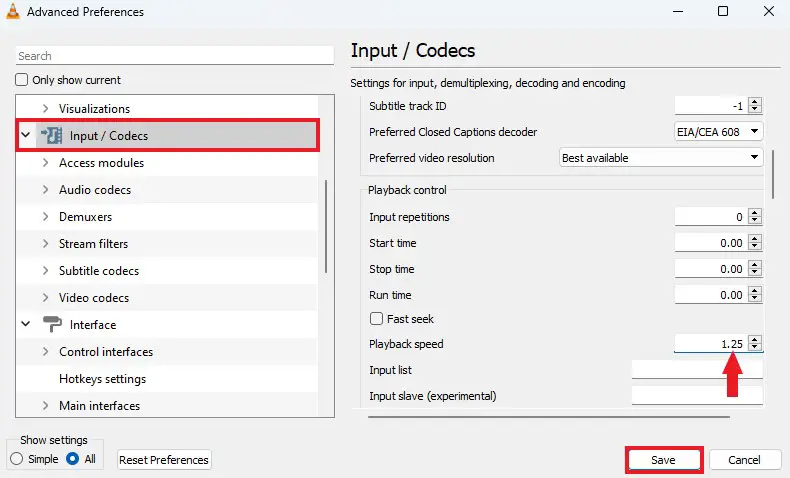
3. Click on the Input/Codecs tab. From there, scroll down to the Playback speed section and enter your preferred default speed.
Now, whenever you play any video on VLC Media Player, it will play at the default playback speed you have set.
Conclusion
That’s it; this is how you can adjust the video playback speed in VLC Media Player. Now, you can watch videos at your own pace. If, in case, anything goes wrong with VLC settings, check our guide to resetting preferences in VLC Media Player. I hope you find this guide helpful. If you have any queries, please do not hesitate to write them in the comment section below. I will surely reply to you.