Adding subtitles in VLC is a helpful feature; for many people who watch videos in a language they’re not fluent in, or for those who are hard of hearing. VLC Media Player offers a variety of options for customizing subtitles to make them easier to read and more visually appealing. You can change the position of the subtitle and more.
By default, it displays white text with a black border around it for visibility. Customizing subtitles can be especially helpful for individuals with visual impairments or dyslexia. Here, we’ll explore the steps for customizing subtitles in VLC Media Player, including changing font size, color, and appearance.
Customize Subtitles in VLC Media Player
VLC Media Player has a feature that allows you to customize subtitles according to your preferences.
Here’s how you can customize subtitles in VLC Media Player:
1. Open VLC Media Player on your computer. If not installed, check our guide to download the latest version on VLC.
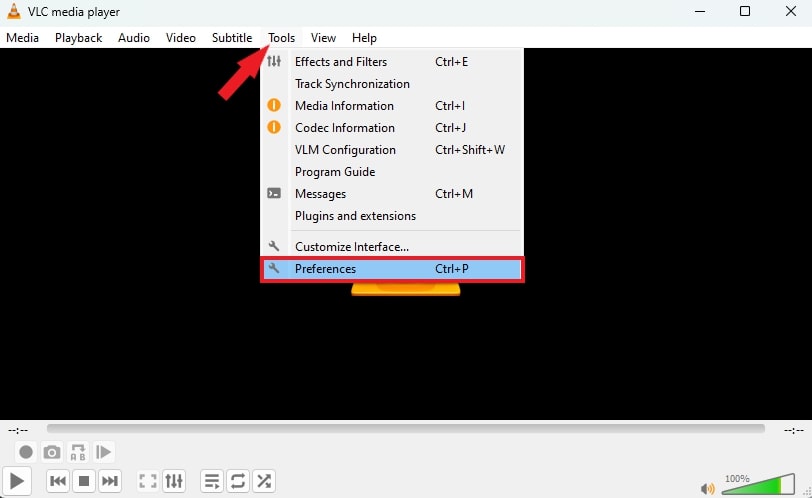
2. Click on the Tools option on the top menu bar and then click on Preferences. Alternatively, use the keyboard shortcut Ctrl + P.
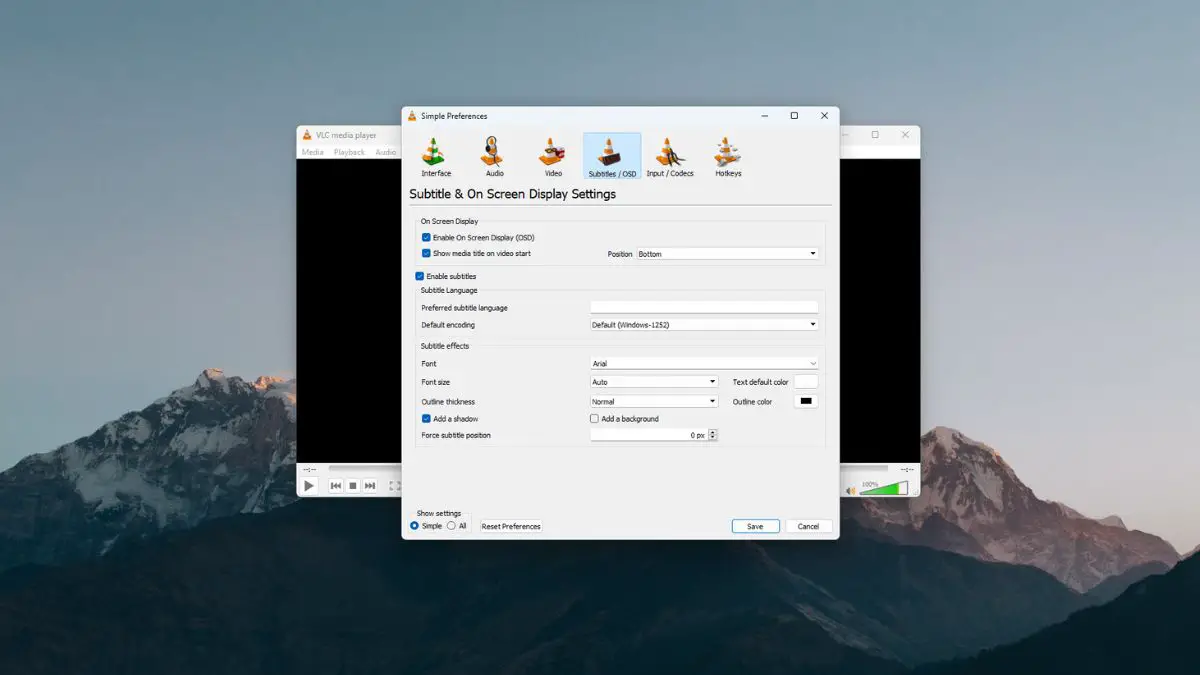
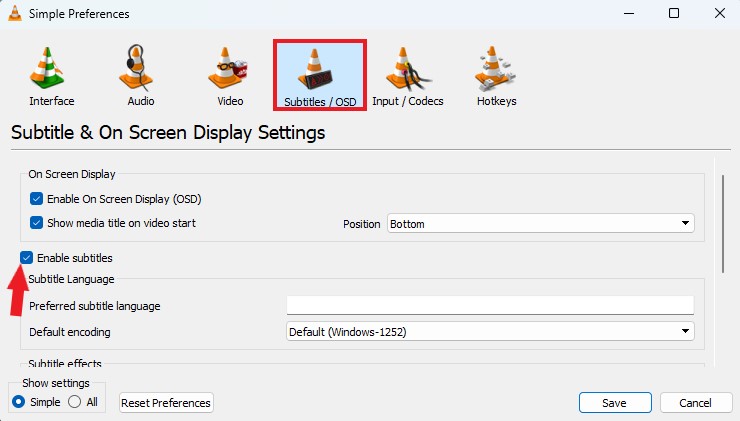
3. Click the Subtitles/OSD menu and check the box next to the Enable Subtitles option to enable subtitles.
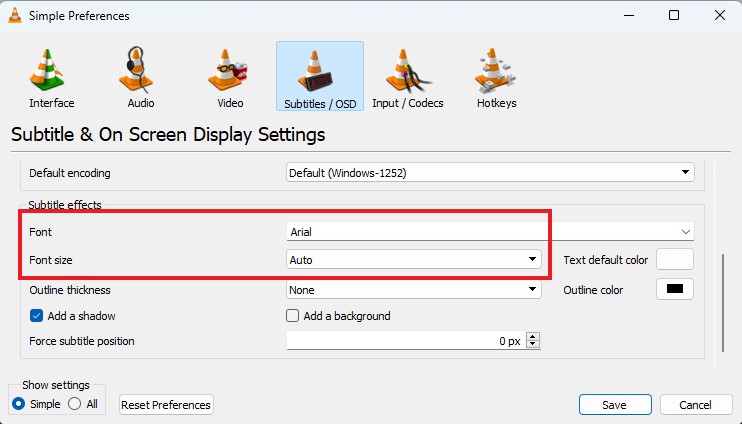
4. In the same window. You also get the Subtitles Effects section. From here, you can customize the font and font size. Select the preferred font and font size from the drop-down menu.
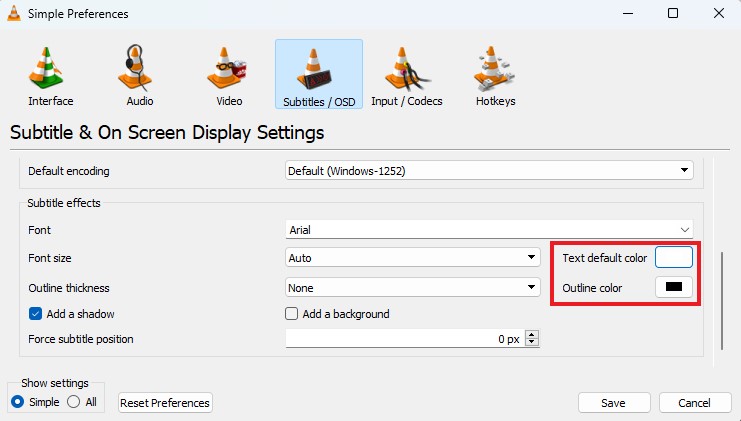
5. To change the color of the subtitles, select the color from the Text Default Color option.
6. You can also change the outline color. For that, choose the color from the Outline Color option.
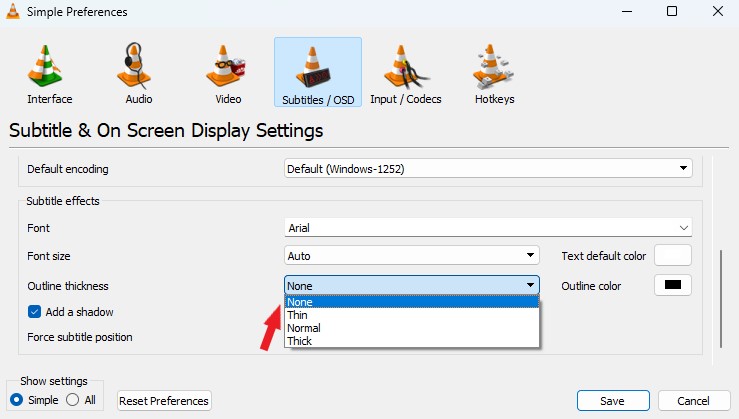
7. If you want more readability, you can adjust the outline thickness of the subtitle. Select your preferred thickness from the drop-down menu.
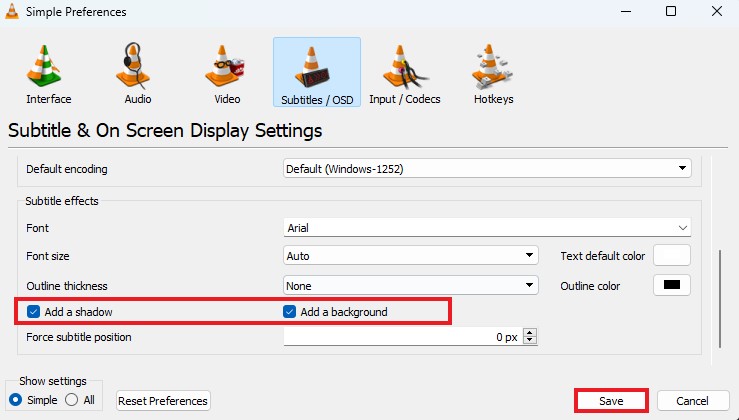
8. Here, you can also add the shadow and background color of the subtitles. If you want, you can also change the position of the subtitles on the screen.
9. Once you’ve made your desired changes, click Save to save your preferences.
After that, relaunch the VLC Media Player to see the changes.
Conclusion
That’s it; this is how you can customize subtitles in VLC Media Player. So, the next time you’re using VLC Media Player to watch a video, take advantage of its subtitle customization feature to enhance your viewing experience.
I hope you find this guide helpful. However, if you have any queries, please do not hesitate to write them in the comment section below. I will surely reply to you.


The Mac version doesn’t show the “Add a background” for the subtitles.
Hi Eric,
You can add a background. To do that, open VLC, click on the ‘Subtitles’ menu option from the top bar, select ‘Background Color,’ and choose your preferred color from the drop-down menu.