You will be surprised to know that by using VLC Media Player, you also record your screen for free if you are using screen recording software to record your screen. No doubt – VLC is one of the most popular media players for all the major operating systems. That comes with unique features like recording webcams, converting audio and video file formats, Play Blu-Rays, and more.
Besides just playing audio and video files, you can also use VLC as screen recording software. To record screencast videos, you can use the “Capture Devices” feature of VLC. Here is a detailed guide on; how you can record desktop screens using VLC Media Player. Also, you can record your webcam video using VLC if you want. You can check our guide on it by following the linked guide.
Record Desktop Using VLC Media Player
Recording your desktop screen is a helpful feature for a variety of purposes – such as creating tutorials, sharing your gameplay, or documenting an issue with your computer.
Here are the steps; you can follow to use VLC Media Player to record your desktop screen.
1. Open the VLC Media Player app. If not installed, you can download the latest version of VLC.
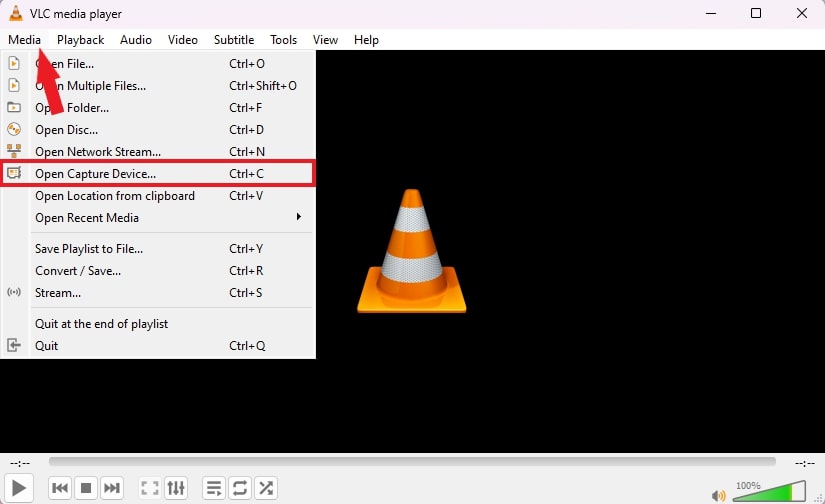
2. Click the Media tab from the top menu.
3. Then click on the Open Capture Device option, or use Ctrl + C to open it.
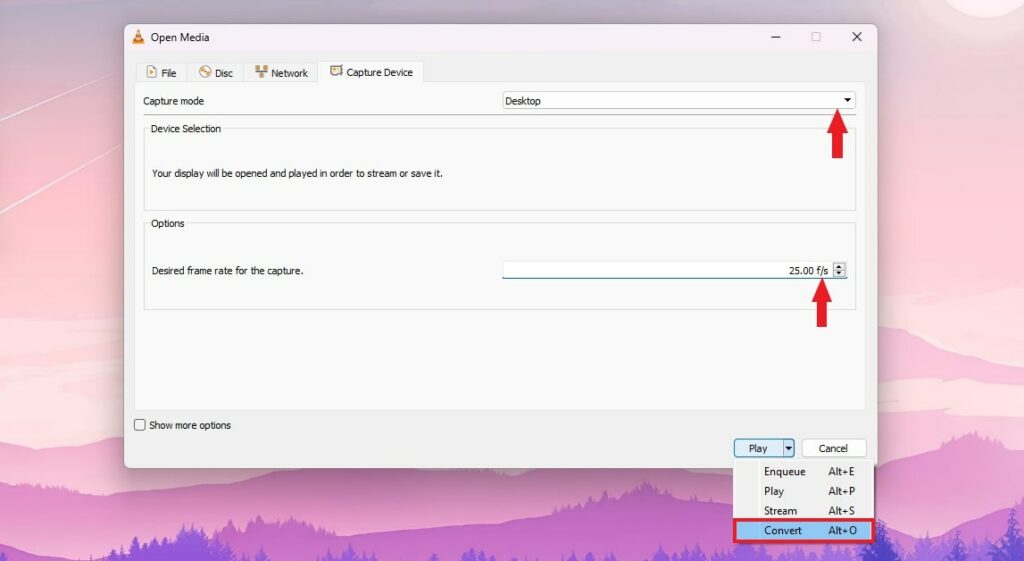
4. It will open the Open Media window. Here, choose the Capture Device tab and select the Desktop option from the drop-down menu next to the Capture Mode option.
5. After that, choose your desired frame rate from 25-30 f/s.
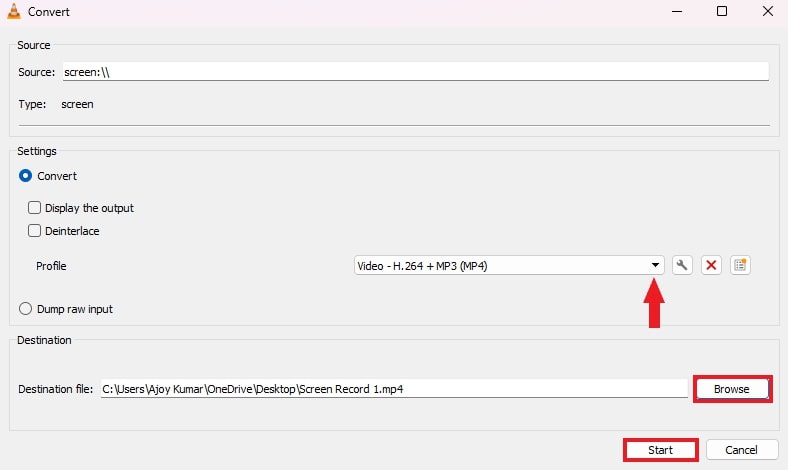
6. Now, click the drop-down arrow next to Play and choose the Convert option.
7. Select the video and audio profile from the drop-down menu.
8. After that, select the destination file – where you want to save the file. For that, click the Browse button, select the location, name your file, and click the Save button.
9. Then click on the Start button to begin the recording.
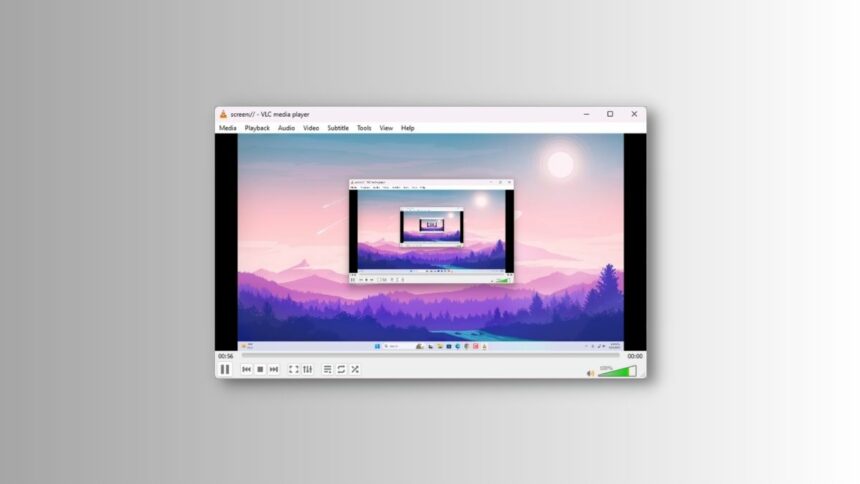
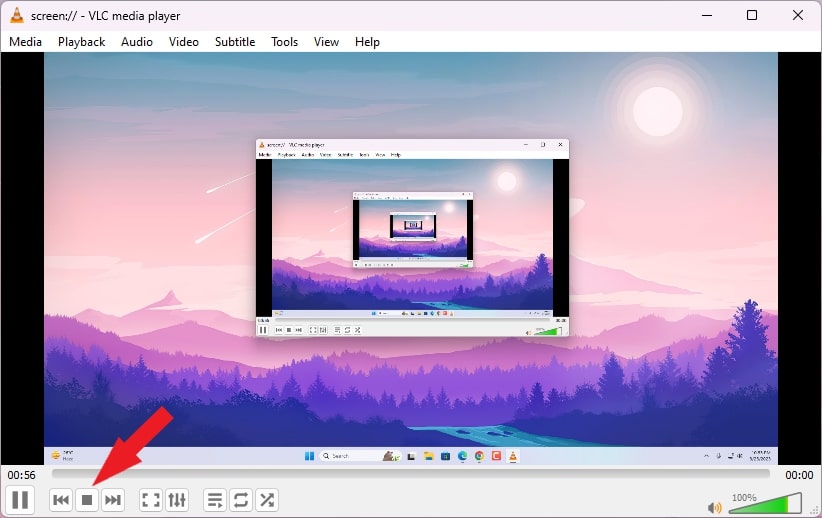
10. VLC will start recording your computer screen, just minimize VLC Media Player and do what you want to record.
11. After the recording is complete, open VLC Media Player and click the Pause Icon to save the recorded video.
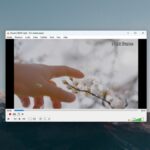
12. To view the recorded video, navigate to the destination location that you have selected.
Conclusion
If you ever need to record your desktop screen, you can easily do so with VLC Media Player. This method does not require any third-party tools to create a screencast video. You only need VLC, a free and open-source media player that is available for Windows, Mac, and Linux.
By following the steps outlined in this guide, you can record your screen quickly. If you have any questions or concerns, feel free to leave them in the comment section below. I will do my best to respond as soon as possible.